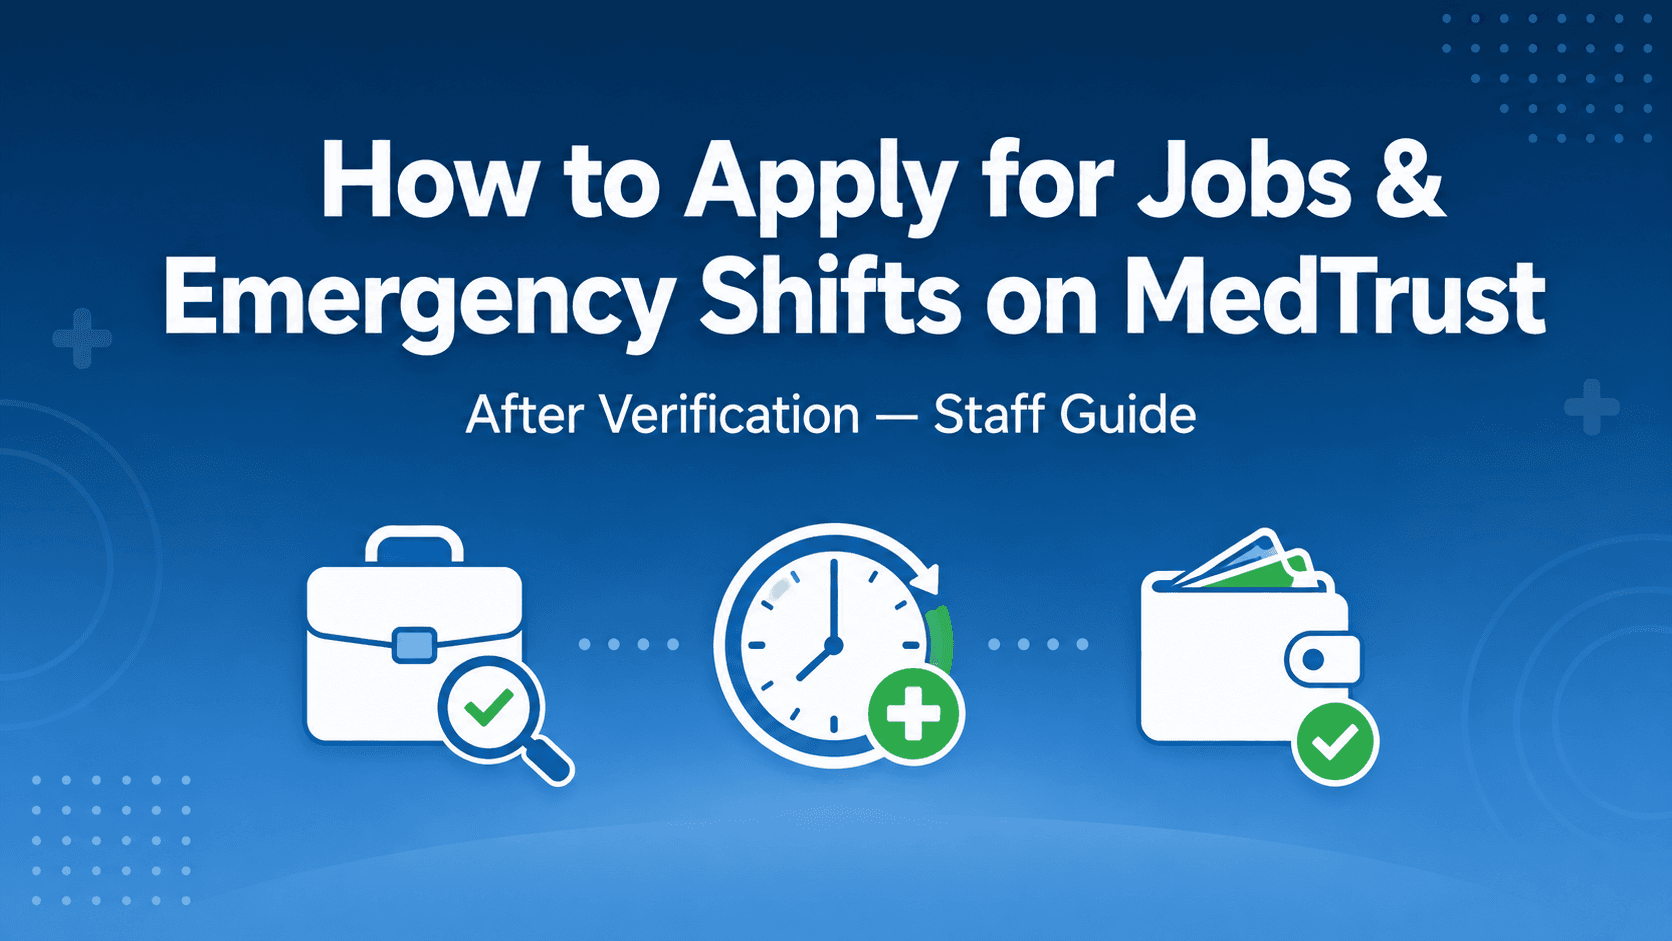
How to Apply for Jobs & Emergency Shifts on MedTrust After Verification
After verification, use Job Search to apply, take Emergency Jobs with GPS + photo Time-In/Out, and set up Wallet bank details for payouts.
Once your MedTrust staff profile is verified, the real work begins: finding the right hospital roles, applying with confidence, taking high-priority emergency shifts, and receiving payouts securely through your Wallet. This guide is written for verified Candidates in the Job Seeker Portal—nurses, technicians, doctors, and other medical professionals looking for opportunities in Ahmedabad and nearby regions.
If you have not completed verification yet, finish that first (see our profile creation guide). After admin approval—typically within 24–48 hours—you unlock My Profile, Job Search, Wallet, and Emergency Jobs. Below is the complete, practical walkthrough of what to do next.
What Changes After You Are Verified
On your dashboard, the status shifts to VERIFIED with a clear message that you now have full platform access and can apply for jobs. Your Profile Visibility becomes Visible to recruiters, and your professional details stay synced from the verification snapshot.
In the sidebar you can now open:
- My Profile — review your verified professional snapshot
- Job Search — find and apply to hospital openings
- Emergency Jobs — high-priority shifts with on-site proof
- Wallet — Emergency Earnings & Payout Account
Recommended jobs on the dashboard also become actionable—you can go straight into Job Search and apply.
Step 1: Review Your Verified Profile
Before applying, open My Profile and confirm everything looks correct. You should see your photo with a Verified Profile badge, specialty, city, registration/council details, Skills & Specializations, Work Experience, Education, Resume download, Documents & Certifications, and Preferred Location.
Need updates? Use Edit Profile to return to the verification form and refresh your clinical information. Keep Settings for account name, email, mobile, and password changes.
Step 2: Find Roles in Job Search
Open Job Search from the sidebar. The page helps you find verified roles in leading hospitals across Ahmedabad and nearby regions.
Use filters, then Search Jobs
Set filters that match your background:
- Job Role — for example Staff Nurse, ICU Technician, Resident Doctor, Doctor, Pharmacist, or Other
- Location — All, Ahmedabad, Satellite, Bopal, Prahlad Nagar, Gandhinagar, or SG Highway
- Experience — Any, 0–1 Years, 1–2 Years, 2–5 Years, or 5+ Years
Click Search Jobs. If nothing matches, you will see No jobs found matching your criteria—widen filters and try again.
Read each job card carefully
A typical card shows:
- Role title and hospital name
- Department, shift, experience, and employment type chips
- Pay range (₹ min–max /mo) or Competitive Pay
- Location
- Verified by MedTrust when the organization is verified
- Joining timeline note (often within 7–14 working days)
Use View Details to read the full description before you apply.
Step 3: Apply Now and Track Status
When you are ready:
- 1Click Apply Now (or open View Details, then Apply Now inside the modal).
- 2Review Job Description, Required Certifications, and Additional Details.
- 3Confirm Apply Now.
- 4You should see: Success! Your application has been submitted.
Some openings require a verified profile. Because you are already verified, you can apply. If an unverified user tries, MedTrust shows that the job requires a verified profile and offers Verify to Apply.
Application status labels to know
On Job Search cards, your status may update to:
- Applied
- VIEWED — a recruiter has opened your application
- Interview Scheduled
- Interview Confirmed
- Interview Declined
- Selected
- Not Selected
For interview-related statuses, open the status pill to see details. If you receive an Interview Invitation, you can Accept Interview or Decline (decline requires a Reason for Declining, then Confirm Decline). Online interviews may include a Meeting Link / Join Meeting; offline interviews show a Location. If you are not selected, you may see Feedback from Organization.
Day-to-day tracking for most verified staff happens through these Job Search status pills after you apply.
Step 4: Use Emergency Jobs for High-Priority Shifts
Emergency Jobs is designed for urgent hospital coverage. The header explains it clearly: access high-priority emergency shifts, then verify your identity at the organization using GPS and camera to secure your earnings.
You will see stats such as Total Jobs and In Progress. If the list is empty, the page shows No active emergencies until new high-priority duties are posted.
Emergency status badges
- AVAILABLE — open to apply
- APPLIED — waiting for hospital review
- ACTION REQD (OFFERED) — hospital offered you the duty; respond
- APPROVED — offer accepted; prepare for attendance
- ON DUTY — shift in progress
- PENDING REVIEW — waiting for organization approval
- COMPLETED — duty finished and cleared
- DECLINED — you declined the offer
Pay on the card is shown as ₹ amount with the label Per Shift.
Emergency duty flow (exact steps)
- 1Apply — click Apply Now (desktop), Apply for this Job (mobile), or Apply for this Duty in the detail modal. You should see: Application submitted! Hospital will review and confirm your duty. Status becomes APPLIED.
- 2Hospital offer — when status becomes OFFERED / ACTION REQD, open Manage Duty (or Manage Shifts & Proofs).
- 3Respond — choose Accept Offer to move to APPROVED, or Decline if you cannot take the duty (card is removed after decline).
- 4Start Shift (Time-In) — when your shift is ready, start attendance from Shift Timeline & Actions. Allow camera and GPS. Wait until GPS is Locked with acceptable accuracy, Capture Photo, then Submit. This records Time-In Verification with timestamp and GPS location.
- 5End Shift (Time-Out) — when the shift ends, use End Shift (Time-Out), capture photo with GPS again, and Submit for Time-Out Verification.
- 6Pending review — status may move to PENDING REVIEW until the organization approves. You can View Proofs & Map under Shift Verification Proof if you need to check submissions. If rejected, review any Rejection Reason shown.
Step 5: Set Up Wallet for Emergency Payouts
Open Wallet — titled Emergency Earnings & Payout Account. This is where you manage emergency duty earnings and the bank account used for secure payouts.
Understand your summary
- Available Balance — processed emergency payouts credited to you
- Emergency duty earnings — related job/shift summary when available
- Last credited — latest credit date
- Pending — amounts still waiting to be credited
You can also jump back via View emergency jobs. Recent payouts list Role & organisation, Date, Amount, and Status (for example Credited, Pending, or Held). Expand a row for earnings detail, Transaction ID (added when admin processes payment), Release, and Processed dates. If empty, you will see: No emergency payouts yet. Complete emergency duties to see earnings here.
Add or update Payout Bank Account
Fill these required fields carefully:
- Full name (as per bank)
- Bank name
- Branch
- Account number (9–18 digits; masked after save—enter a new number only to change)
- IFSC code (format like HDFC0001234)
Click Save bank details (or Update bank details later). Updates may be locked for 24 hours after a change—plan carefully. Read the Important Note on the page: double-check every digit; incorrect details can cause payout issues. Bank details are stored securely and used only for emergency payouts.
Quick Staff Checklist (After Verification)
- check_circleDashboard shows VERIFIED and full access
- check_circleMy Profile reviewed; Edit Profile if anything is outdated
- check_circleJob Search filters set (role, location, experience)
- check_circleApplied to matching roles with Apply Now
- check_circleInterview invites Accepted or Declined with a clear reason
- check_circleEmergency Jobs: Applied → Accepted Offer when ready
- check_circleTime-In and Time-Out completed with GPS + photo for each shift
- check_circleWallet bank details saved (name, bank, branch, account, IFSC)
- check_circlePending earnings monitored until Credited
Common Mistakes to Avoid
- 1Applying without reading Required Certifications — mismatches waste time for you and the hospital.
- 2Ignoring Interview Scheduled status — respond promptly with Accept Interview or Decline.
- 3Accepting an emergency offer you cannot attend — decline early instead of missing Time-In.
- 4Denying camera or GPS during Time-In/Time-Out — attendance proof cannot be submitted without them.
- 5Submitting Time-Out late or incomplete — delays PENDING REVIEW and payout processing.
- 6Saving wrong IFSC or account number — always verify thrice before Save bank details.
- 7Expecting earnings before organization review and admin processing — watch Pending vs Credited in Wallet.
Final CTA: Put Your Verified Profile to Work
Verification is the key. Job Search, Emergency Jobs, and Wallet are how you turn that key into real opportunities.
- Use Job Search to apply for hospital roles across Ahmedabad-area locations.
- Use Emergency Jobs for high-priority shifts with GPS and photo attendance proof.
- Use Wallet to keep bank details ready and track emergency payouts from Pending to Credited.
Log in to your Job Seeker Portal today, open Job Search or Emergency Jobs, and take the next verified step in your healthcare career with MedTrust.
Ready to get started?
Create your verified MedTrust profile and unlock jobs, emergency shifts, or hospital hiring.